3D Scanning & Rapid Prototyping used to perfect Knife Handle Design
Jefferson Spivey has been building and marketing his Sabertooth survival knives since 1968. In that time, the handle design has only changed a few times so when a change does take place, Spivey insists that the design be perfect. The latest version of the handle was designed in CAD and Spivey liked the way it looked so he released the tooling for production. He made one mistake that he said would never happen again though. He did not have a prototype model built of the new design.
Upon receiving the first production pieces, Spivey proceeded to assemble the handles to a blade. He started using the knife for its intended purpose of cutting, sawing, and hacking but noticed after a few minutes that it just didn’t feel right. The handle seemed too thick in the finger area. Some associates told Spivey that it was fine and he should just go ahead with production but Spivey said he “just wouldn’t feel right trying to convince someone to buy a knife that wasn’t perfect”
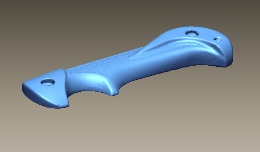
Now Spivey had to figure out how to fix the problem. He proceeded to painstakingly modify one of the handles by hand and eventually got it just the way he wanted. He now had to get this new design into the CAD model. He turned to Absolute Geometries, a 3D Scanning Service Bureau located near Austin, Texas for help. The handle was sent to Absolute Geometries and they used 3D Laser Scanning to produce a digital replica of the modified handle. The handle was scanned with a Faro Laser Scanarm. This scanner captures thousands of 3D measurement points per second and creates what is known as a point cloud model. From the point cloud model, Absolute Geometries was able to create new CAD surfaces of the modified area. They did this by converting the point cloud model to a 3D mesh file. The mesh file is created by attaching the points together to form triangle surfaces that have a surface normal. The mesh file was then cross sectioned and used as a guide to create the new surfaces. The new surfaces were incorporated into the original CAD model and then verified to the original scan data using Rapidform XOV.

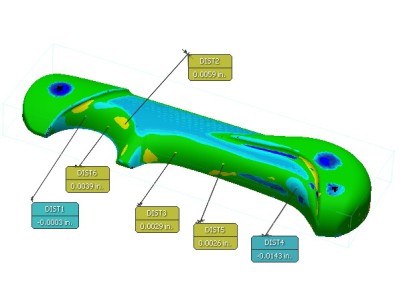
Rapidform XOV is computer-aided inspection software that uses scan data to verify as-built parts. The scan data is aligned with the CAD model so that the differences in the data can be identified. In this case, Absolute Geometries needed to verify that the modified CAD model matched the hand crafted handle that Spivey had created as closely as possible. The data was aligned and a 3D Color Deviation model highlighted any areas that did not match. Reference dimensions were taken at several areas to verify the deviation. Because the handle was modified by hand, there were a few areas that did not match exactly but it was more important to have smooth tangent surfaces. The new surfaces proved to be accurate and this time a Rapid Prototype model was created.

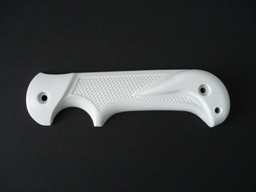
Absolute Geometries used an Objet Eden500V 3D Printer to build a very detailed model of the new design. The Eden500V builds parts in .0006” layer thickness and .0016” resolution. A UV sensitive resin is printed onto a platform and cured with a UV light bulb attached to the back of the print head. After one layer of a part is “printed”, the platform lowers and the printing process is repeated until the part is complete. The Objet prototype was assembled to a blade and this time Spivey was very pleased with the feel.
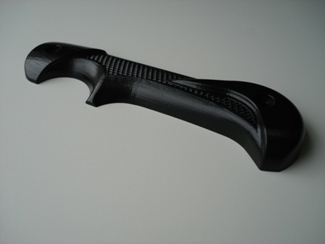
To keep from completely rebuilding the tool cavity, the tool maker dropped the parting line and then used EDM to burn in the new surfaces. New handles that met Spivey’s specifications where then produced. Without 3D Scanning and Rapid Prototyping, it would have been very difficult to turn Spivey’s hand modified handle into production parts. Looking at a design in CAD is never the same as holding it in your hand.


